


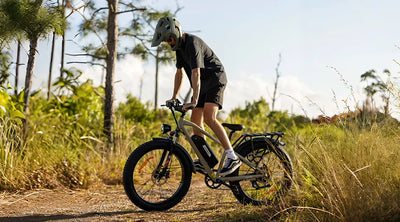


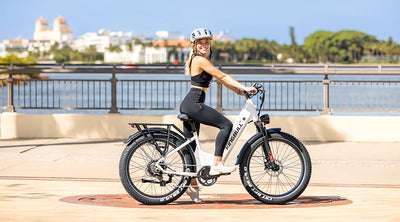


How to Replace the Speed Sensor on Your Electric Bike: A Simple DIY Guide

If your electric bike’s speedometer isn’t showing the correct speed, or if the screen constantly displays a frustrating "0 mph," your ebike speed sensor might be damaged or misaligned.
Luckily, dealing with an electric bike speedometer not working doesn't mean a costly trip to the repair shop. It’s a straightforward DIY fix you can easily handle at home with the right tools and a little patience. In this quick guide, we’ll walk you through exactly how to replace the speed sensor on your electric bike to get your ride tracking perfectly again.
Tools You’ll Need
Before you get started with your ebike speed sensor replacement, make sure you have the following tools and materials handy:
-
Hex key (Allen wrench) – For loosening bolts.
-
Multi-tool – For general adjustments.
-
Crank removal tool – Essential for accessing hidden sensors.
-
A new Kingbull speed sensor (or a compatible replacement sensor).
-
Zip ties – For neat cable management.
⚠️ Safety First: Always disconnect your electric bike’s battery and turn off the power completely before touching any electrical components to avoid accidental shorts or injuries.
1. Removing the Crank Arm
To get to the sensor, you usually need to remove the pedal crank arm first.
-
Step 1: Use the appropriate hex key to loosen and remove the main bolt securing the crank arm to the bottom bracket.
-
Step 2: Thread the crank removal tool into the crank arm carefully (make sure it's threaded straight to avoid stripping). Turn the tool clockwise using your wrench or hex key until the crank arm gently pops off the spindle, then set it aside.
2. Removing the Old Ebike Speed Sensor
Now that the crank is out of the way, you can see the sensor mechanism.
-
Step 3: Locate the old speed sensor near the bottom bracket or rear dropouts. It’s a small plastic component connected to the main ebike controller via a thin wire.
-
Step 4: Follow the cable back to the plug, and carefully disconnect the sensor from the controller. Pro Tip: Always pull directly on the plastic connector plugs—never pull on the wire itself, or you might tear the internal copper line.
-
Step 5: Unscrew or unclip the old speed sensor from its mounting bracket and remove it from the bike frame.
3. Installing the New Speed Sensor
-
Step 6: Place your new ebike speed sensor in the exact same position and orientation as the old one.
-
Step 7: Route the new cable along the frame safely, and plug it securely into the controller. You should feel or hear a slight "click" when it seals.
-
Step 8: Crucial Step! Check your ebike speed sensor alignment. Ensure the sensor sits close to the magnetic disc (usually a 1-2mm gap is ideal) but is positioned properly so it won’t rub against the moving crank arm or magnets. Use zip ties to strap down any loose wires.
4. Reinstalling the Crank Arm
-
Step 9: Line up the crank arm with the spindle (make sure it is pointing exactly 180 degrees opposite to the other pedal arm!). Push it onto the splines.
-
Step 10: Use your multi-tool or hex wrench to securely tighten the crank bolt. Make sure it is cranked down tight so it doesn't wobble loose while you are riding.
5. Testing Your New Sensor
-
Step 11: Reconnect your e-bike’s battery and power on the display.
-
Step 12: Lift the rear wheel off the ground (or place the bike on a repair stand) and manually spin the pedals. Look at your LCD display: if the speed readings update smoothly and accurately, you nailed it!
6. Advanced Troubleshooting: Still Not Working?
If your electric bike speedometer is still not working after the replacement, don't panic. Check these three common culprits:
-
Loose Connections: Unplug the connector and check for bent pins inside. Re-plug it firmly.
-
Magnet-to-Sensor Gap: If the magnet is too far from the sensor, it won't trigger a reading. Loosen the sensor slightly and push it closer to the magnetic ring (aim for the thickness of a coin).
-
Dirty Sensor Wheel: Wipe down the magnetic disc with a clean microfiber cloth. Mud or grease buildup can block the magnetic signal.
Wrapping It Up
And that’s all there is to it! By following these simple steps, you can successfully tackle an ebike speed sensor replacement and get back to enjoying smooth rides with real-time tracking.
Regular maintenance keeps your electric bike running like new. If you are still unsure about the process, encounter a weird error code, or need help finding the right replacement parts for your model, please feel free to contact the Kingbull support team anytime. We’re always here to help you stay on the road!


Leave a comment